Friday, July 30, 2010

Paper Peonies


How I adore these flowers and the way they burst forth with such a glowing explosion of color and beauty. Here is a simple way to recreate them so that you can enjoy their sheer magnificence all year round!
I think  these would look lovely as a party decorations, as a centerpiece for the table, or a top a gift...so many possibilities!


Here is what you will need
~ tissue paper
~ pipe cleaners
~ scissors


To begin,  take 3 sheets of your tissue paper and place them on top of each other. Next  cut your stack of  3  sheets into 3 strips. Then cut each pile of strips into 3 squares. This leaves you with 3 piles of squares with nine in each pile. I must mention though, this is flexible depending on the size of flower you want to end up with ~ big and bold or small and sweet...

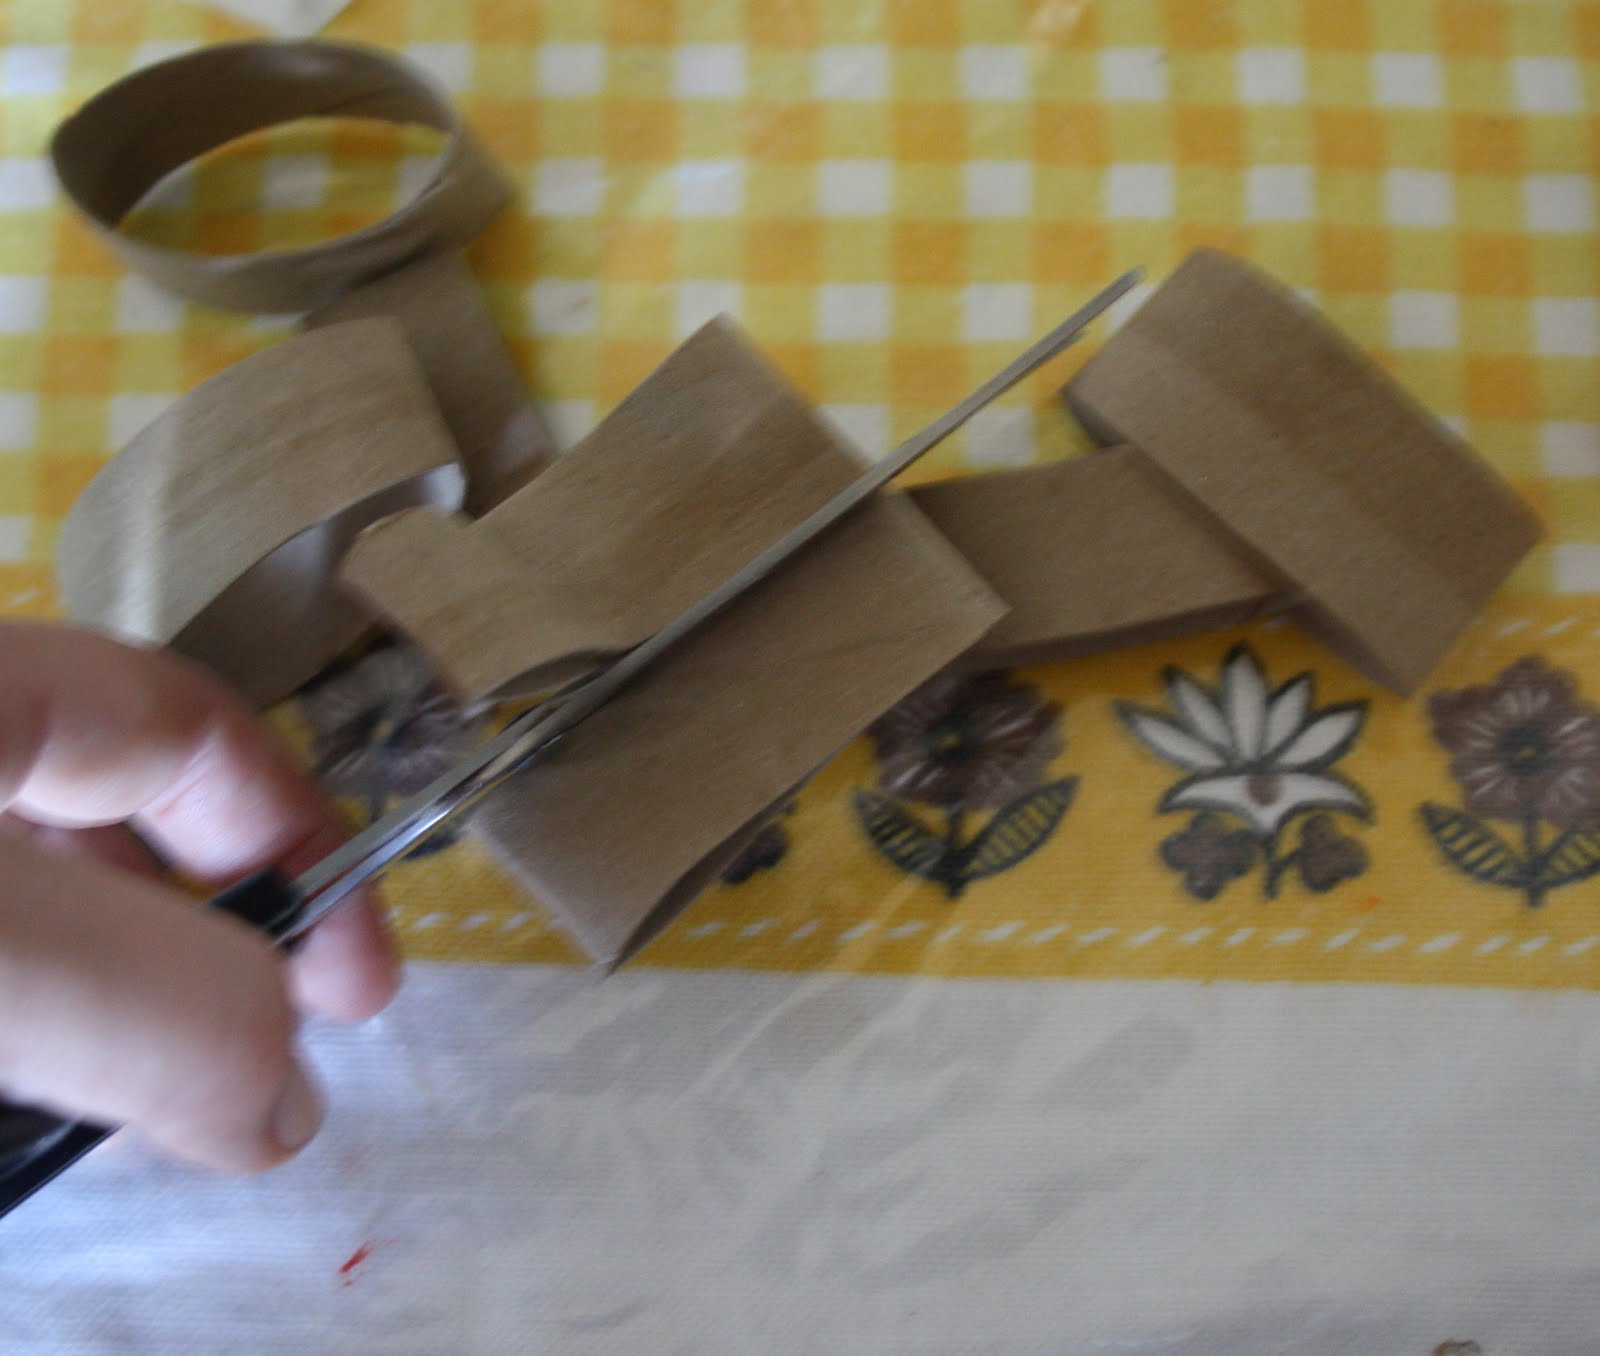
Then take one of your piles of tissue paper squares and fold it accordion style ~  folding it over 1/2 inch to 1 inch then folding it back the other way. It should look similar to a fan when you open the folds.


Next, use your scissors to form the shape of the petals, by rounding off each end of your folded "fan" ~ the deep curved ends will make petals much like that of a peony.

Tie the middle together with a pipe cleaner ~ leaving the majority of the pipe cleaner for the stem.

Now you are ready to open your flower.  Gently pull the top sheets away from the others up towards what will be the center of the flower. Work gradually and gently, as it is easy to tear the tissue paper during this step. Repeat this step with each subsequent layer of tissue paper until you have done this for all of them.
After you have separated the layers play around...fluff them up and bring them to life!


.
We enjoyed the outcome so much that we were inspired to make an abundance of then ~ a big bouquet of all white, a handful of soft and bright pinks and next we plan ignore the traditional peony colors and make a vibrant rainbow bouquet! 
I must also mention we had fun dipping the edges of each flower with glue and shaking on some glitter ~ a sparkly flower...who can resist?!


I shall end my ode to the peony with this poem I came across by Mary Oliver. Her words describe the magnificence of peony with such eloquence.  Enjoy...

This morning the green fists of the peonies are getting ready
to break my heart
as the sun rises,
as the sun strokes them with his old, buttery fingers

and they open ---
pools of lace,
white and pink ---
and all day the black ants climb over them,

boring their deep and mysterious holes
into the curls,
craving the sweet sap,
taking it away

to their dark, underground cities ---
and all day
under the shifty wind,
as in a dance to the great wedding,

the flowers bend their bright bodies,
and tip their fragrance to the air,
and rise,
their red stems holding

all that dampness and recklessness
gladly and lightly,
and there it is again ---
beauty the brave, the exemplary,

blazing open.
Do you love this world?
Do you cherish your humble and silky life?
Do you adore the green grass, with its terror beneath?

Do you also hurry, half-dressed and barefoot, into the garden,
and softly,
and exclaiming of their dearness,
fill your arms with the white and pink flowers,

with their honeyed heaviness, their lush trembling,
their eagerness
to be wild and perfect for a moment, before they are
nothing, forever?

In celebration of the succulent  peony
~ Shanti~

PS.  We're pleased as punch to announce the winner of our giveaway is...
angelina of Norwood Walkabouts!!!!


Thursday, July 29, 2010

It's Flower Power Week...Let's make Felted Flowers!!!


I would like to introduce someone who inspires me greatly ~ my sister Rebbecca!!! This vibrant flower she created is a wonderful representation of the bright, beautiful soul she is. As my big sis she has graced my life with so much encouragement, inspiration and wisdom. She is an amazing mother to nine  children and her patience, creativity and joy she exudes are a true gift to be around!  I have many a handmade gift from this crafty gal ~ seems she always has a project on the go. Here is her latest...
Enjoy! 

Rebbecca with her youngest ~ sweet Nadia ~ modeling her flower 

~Rebbecca's Felted Flower Tutorial ~

I love "upcycling" or repurposing things. I must take after my Grandma Betty. She saved and re-used everything....and I mean everything! I think she saved every bread tie that passed through her house in 50 years! Seriously. Having gone through the Great Depression in the 30's, she saw the importance of being frugal...to the nth degree. I don't carry things that far, maybe, but I definitely think we all need to do our part to reduce the amount of garbage we are piling up in landfills.

Which brings me to felting. How many of you have inadvertently sent a 100% wool sweater through the regular wash, only to find that it has shrunk to fit the size of your 6 year old? (ok, ok...yes...I've done just that). My daughter was thrilled to find out that mommy's sweater was now hers...but how many thick wool sweaters can one girl own. :) I discovered there are many ways to make use of that now-too-small felted sweater, rather than tossing it, and one of my favourites is...felted flowers.

They are simple and oh so gorgeous.

Here's a list of what you will need...

100% wool sweater that has been "pre-felted" (washed in a washing machine in hot water and laid flat to dry)
buttons (vintage ones found at thrift stores are great!)
needle
thread
pins
scissors (preferably sharp)
templates for the petals found on this page


Here's the full video tutorial found at  www.diydish.com , but basically you pin the templates to the felt, and cut around them.  Next, you thread them one by one onto your needle and thread, securing them together with a button on top of all the layers.

Here's my daughter, Sophia, with the finished product. Too cute, eh?


You can use these flowers to embellish just about anything. Here's one on the front of one of my felted purses...


Or look at how sweet this one is,  perched on the front of Luna's wool beret!


Here are my girls sporting all of the things we made from one felted sweater!  Anna (on the left) is wearing a skirt made from the body of the sweater,  and arm warmers made from the sleeves, and a hairband made from the cowl neck. Sophia (on the right) is wearing a dress with the bodice made from the main body of the sweater and, of course the funky flower we made today from yet again the same sweater. Oh so thrifty....oh so FUN!!


Big thank you to you Bec for sharing one of your many funky, fabulous creations!
We look forward to having you back and and keeping the inspiration wheel turning!

In flowing flower sister power
~Shanti~ 

Tuesday, July 27, 2010

It's Flower Power Week!!!! Let's Make some Magical Milk Pod Flowers!!!!


"Be like the flower, turn your faces to the sun."
-Kahlil Gibran

Here's a quick and easy tutorial on how to make some "milk pod" flowers!

You will need:
5 milk weed pods, (or if you live somewhere exotic with exotic pods, then use what you have on hand)
paint
an assortment of beads
a small branch
glue gun


First go into your milk pod stash from the fall, (yes...if you save your toilet paper rolls, you probably save things like milk pods too...we crafters are an insane bunch)!


Get out your glue gun and glue them together like so...


Now paint them whatever colour you desire!  We decided on doing ours like sunflowers!


Put some more glue in the centre, and pile on the beads
(we used a glue gun for this part...it just dries faster and holds better)


Then pick out a twig to glue onto the back like so!  You decide on the length...


And there you have it!  A sunny little flower, made "almost" entirely from nature!
Ruby thinks these would also make great flower fairy wands...it's up to you.
Ours are currently in a vase, brightening up our nature table...we also make these for Christmas, by painting them red like a pointsetta! 
You've got to love when Mother Nature presents to you all the fixin's for a great and easy craft!

Don't forget to stop and smell the flowers!
xo maureen

PS.  If you haven't already go over HERE and enter our fabulous giveaway!  If you're a follower/friend of Twig and Toadstool you can enter once daily...if you're just swinging by for a quick visit then you can enter once!  Enter by leaving a comment under our giveaway post!  We'll close the giveaway Thrusday night at midnight, and annouce the winner on Friday!  Good luck to all who enter!

Monday, July 26, 2010

It's Flower Power Week!!! Let's Make a Recycled Rainbow Flower Wreath!


" The Earth laughs in flowers."
-Ralph Waldo Emerson

Here's a super fun, super colourful craft to make with the kids!  A recycled rainbow flower wreath!


If you're like me you save all your toilet paper rolls...just in case!  You never know when the urge to craft with a toilet paper roll will take over!  Well, you're in luck...here's a fun and wonderful toilet paper roll craft!  So gather up those rolls!  You'll need 11 of them to make this wreath.


Cut each roll into 4 equal sized pieces...try to estimate the size, don't make it complicated!


Now put it together like so.  To make the "petals" fold one end together tightly and then using your fingers, round out the tops of the petals.  Get your glue gun warmed up while you do this!


Put a thin line of glue on the folded edge of your petal.  Take that petal and glue it to the middle round!
(I used 6 petals per round...you can use more if you desire). 


Now grab a kid you love, get out the rainbow paints, and put them to work!  Paint every bit of your flower...on the inside and outside!


Before you glue it together, set it on the floor, to get it into the right shape.  Then glue it as required, (again a glue gun is your best bet to hold it together).


Then find a lovely spot to show off your beautiful and colourful creation!  We hung ours on a nail, but you could also add some ribbon to hang it with.

Oh...I love me a simple craft,
(and rainbow colours make it all the sweeter!)

xo maureen

PS.  Please go and enter our fabulous giveaway!  If you're a follower of Twig and Toadstool you can enter daily, and if you're just by for a quick visit, then you can enter once!  Enter by leaving a comment HERE!
You can enter until this Thursday at midnight.  The winner will be announced on Friday!
Good luck to all who enter!
(our fire gnome is looking forward to knowing where his new home will be)!

It's Flower Power Week!! Let's Make Some Funky Flower Barrettes!!


Want to know what I love best about summer??  It's gotta be the flowers!
In honour of the lovely flower, we have decided that we would spend this week indulging in our favourite flower inspired crafts!
Enter the funky flower barrette!
You'll have to trust me when I say it takes literally minutes to whip one up!  And what a great gift for the little girls and funky mamas on your lists!

So get out your funky fabric...first things first,  you'll need to make some templates...you will need 4 circle templates...starting big and decreasing in size.  When I did this I just picked random things around my house to trace...you can make them whatever size you wish!  My biggest circle is about 3.5 inches.


I always use contrasting fabric to make mine...I just think they look funky with all the mis matched patterns!
Put them together and see if you like it!  If you do, on to step two!


Do a running stitch in a circle shape...in the middle of your first circle...


Now pull your thread tightly, and it should pucker up like so!


Do the same with all of your other circles...


Then pile them one on top of the other and put a button on top, (in the centre)...sew them all together!


Add a barrette back...I ususally sew this on as well, just to ensure it holds.  You could also use a combination of glue/sewing, but I've found that all the barrettes I've made stay onto the back just using thread!


Now give it to someone you love!
Matilda says it's "preddy fla-er"!


I make loads of these barrettes...and I've gotten lots of compliments on them!
What I love about them to is that you could make them as a set, or just one single barrette...I usually use one single one.  It's the perfect accessory when you want to feel like a funky mama!

Flowers and funk!
xo maureen

PS...Don't forget to enter our fabulous GIVEAWAY!!!  If you're a follower of Twig and Toadstool, you can enter daily until July 29th at midnight!  And if we haven't won you over yet, and you have some committment issues then please go and enter once, (keep coming back until we win you over)! The winner will be announced the following day!  Enter by leaving a comment under our giveaway post! 

Friday, July 23, 2010

Fabulous Finger Puppets with Theatre!

I recently borrowed the book "Creative Play for Your Toddler" by from our library.  It is FULL of such great ideas, and tutorials.  I highly recommend this book for anyone looking to create a "Waldorf" inspired playroom.  One of the many many great ideas in the book were finger puppets out of wool felt.  Well...we've got plenty of wool felt kicking around here at the Toadstool, so I decided to surprise the kids with some little finger puppets. 


Here are the birdies I made...I just eyeballed the puppets from the book and make up my own pattern.  For eyes, I cut out little circles and glued them on...the wings are also glued on, (with a hot glue gun)
Super super easy...I think it took 15 minutes to sew up 2!  They're about 3 1/4 inches tall.
They also suggest putting a small amount of stuffing in the head...just to make them fill out a bit!


Then...thanks to another great book, "Sewing for Children" we were inspired to make a little theatre, for our finger puppet friends to play in.  I took an old shoe box and sawed off the back...painted the sides, glued some tissue paper to the bottom, strung up a curtain, and voila!!!
How simple and sweet!

Okay everyone...grab your seats, the show is about to begin!


Ruby's favourite part is that you can open and close the curtains as needed!!!

And here's some finger puppet link love for you:
Martha has some lovely felted finger puppets...complete with patterns...if you don't want to "felt" your own wool, then just make them with felt and add the embellishments!
Check out this site.  It's in spanish, but has some great simple finger puppets, (with patterns) for a bunny, chick and mouse.
If you want to get a little fancy, HERE is a tutorial for the 3 Little Pigs!!!
Most beautiful finger puppets ever can be found HERE!!!
My inner geek LOVES these Star Wars inspired finger puppets, (shhhh...don't tell the other Waldorf moms that I actually like Star Wars)!
And finally Earthboys blog just did a marvelous post about the magic of finger puppets!

Have a marvelous and crafty Friday!!!
xox maureen

Thursday, July 22, 2010

Welcome Rocks!!!


The girls and I wanted to jazz up our front gardens and our welcome rocks are what transpired... so simple and fun we just had to share!
The girls each picked out a rock that appealed to them and then washed and dried them. Next  I squeezed their palettes full of bright blobs of color and then left them alone to dive into their creation!


Luna choose to paint welcome in the sunny colors of the rainbow...


Solana choose peace...


Now these rocks grace our front yard gardens, offering  a "welcome!" and a "peace!" to all folks who walk up the path to our door.


I enjoy offering the girls a time to create that needs very little direction or help from me. I love to see their creativity shine and confidence grow in creating solo. After these rocks  came gratitude rocks, lady bugs rocks, a peace sign formation of rocks, an inukshuk...
Grateful for the natural elements that continue to inspire us all!

In a welcoming peace
~Shanti~

Tuesday, July 20, 2010

A Family of Twig Gnomes!!!!

I LOVE simple crafts that have a great end result!  Here's a quick and simple way to make some twig gnomes of your own.  The inspiration comes from "The Gnome Craft Book" by Thomas and Petra Berger.


We started by going out and cutting some fallen branches from our yard.  We found a thick branch and then a thinner one.  Cut them into various lengths, (on an angle), and then sanded them, so that they'd have a little space for a  "face" in front.


I used a small electric sander, which was super fast!


Then, paint some little faces on them...(they're starting to come to life now!!)


Next cut out their hats out of felt...this is how we did ours, you'll have to play around with the width, (depends on the width of your twigs)...basically you want something you can just glue up the back, (and the little arch in the front is so there is room for your gnomes face to be seen!).


So...glue the roving to the front of your twig...to make a beard and a bit of hair...then wrap the hat around and glue up the back...I used a hot glue gun for this part.


And there you have it...a little family of gnomes!
My kids were so excited to find these little enchanting toys this morning, they were immediately scooped up and off on an adventure! 

Happy gnome making!
xox maureen

ShareThis

LinkWithin

Related Posts with Thumbnails