Showing posts with label contact paper. Show all posts

Saturday, April 19, 2014

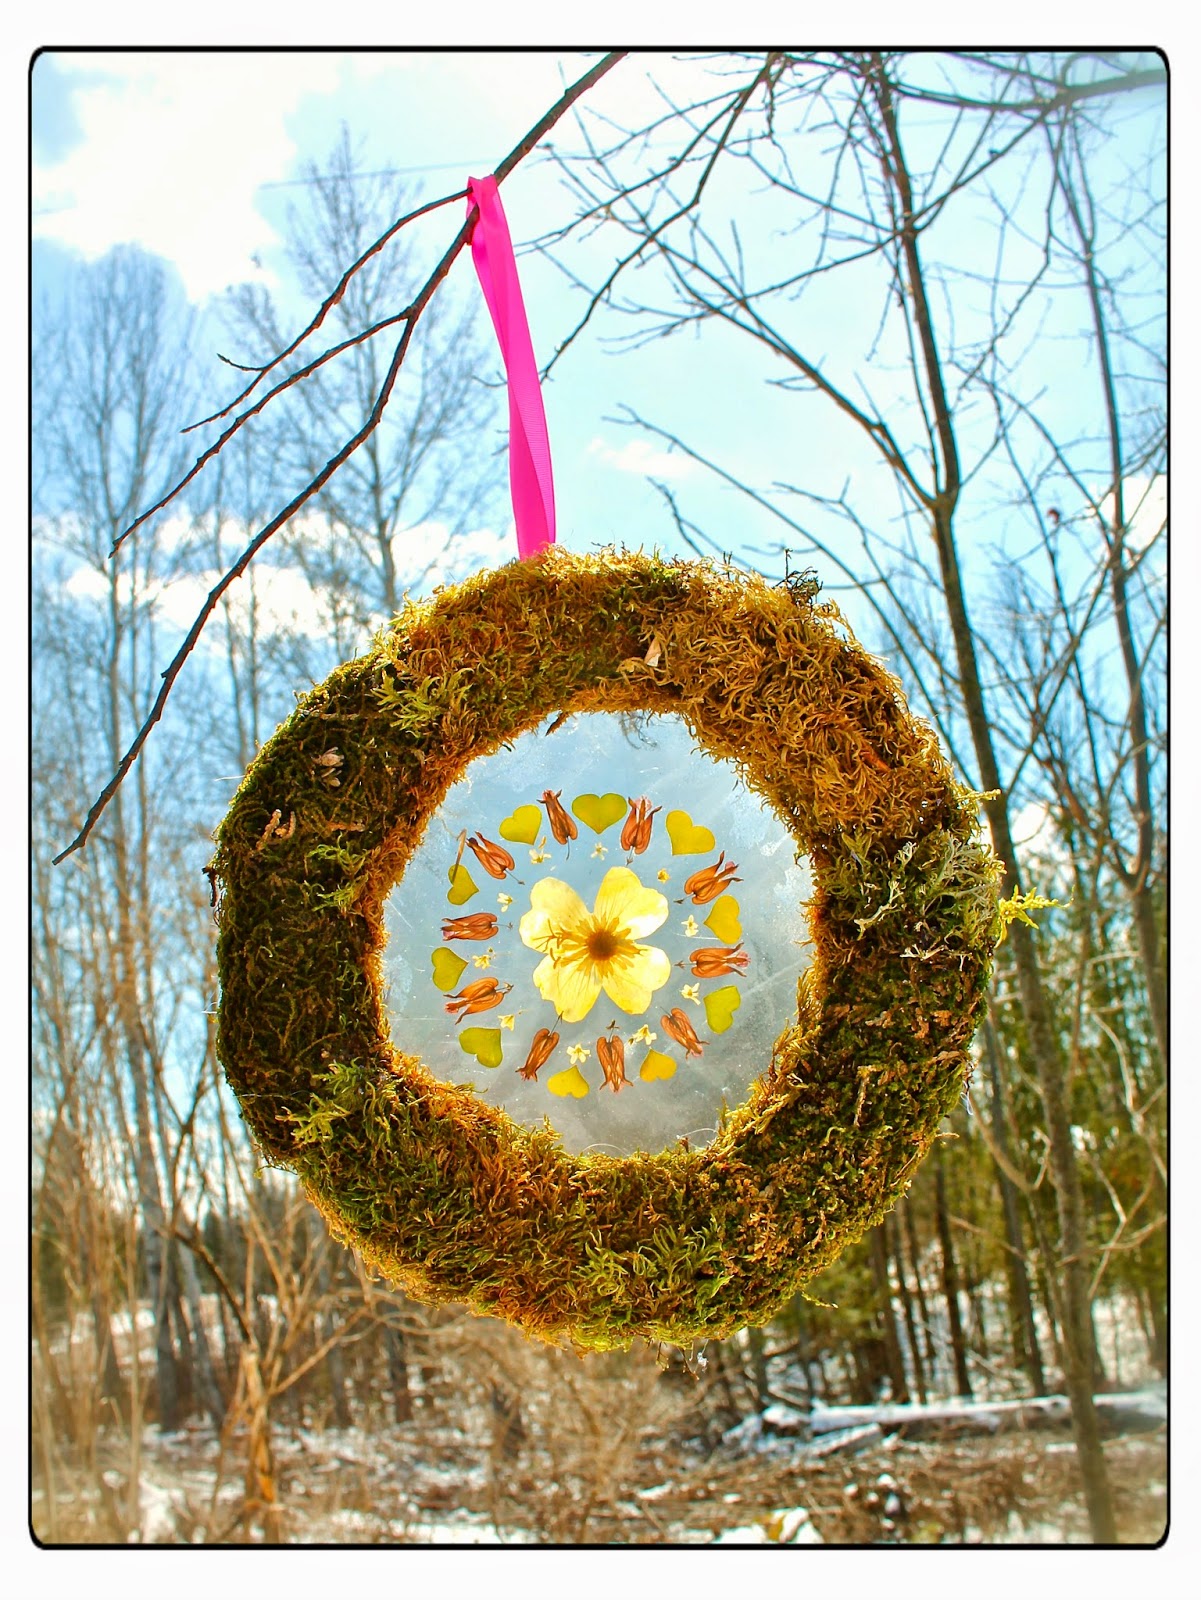
Spring Wreath


{Confession} My Valentine wreath hung on my door until today. Yep. Even though each time I looked at it I was reminded that I needed to change it up, winter was being so stubborn that I was left a little uninspired. 
Finally spring began to show her face and inspiration hit!

To create you will need:
grapevine wreath
mactac (also know as contact paper)
pressed flowers
moss
glue

To begin:

Cut two squares of mactac a little larger than your wreath.


Peel the backing off one of your pieces of mactac and tape it down, sticky side up.
 Arrange your flower design in the center.


Peel the backing off your other piece of mactac and firmly press it onto of your flowers. 


Glue it to the back of your wreath and trim off the excess mactac.


Glue the moss onto the wreath.


There you have it!
Ready for the door.


Love and light to you this Easter weekend,

Shanti

Sunday, March 23, 2014

Butterfly Finger Puppets

With spring seemingly unwilling to show it's face and snow still surrounding us, we decided to take matters into our own hands and bring spring to us.
What speaks spring more than butterflies and flowers?!
Here is our spring inspired solution...
Flower-filled butterflies to conjure up spring's warmth and new life.

To create you will need:

flowers (pressed flowers work best for the longest lasting collage)
sheet of colored construction paper
tape
mactac (also know as contact paper)

To begin:

Print or trace this butterfly template onto your colored paper.
Cut out your butterfly and then cut out the insides of the wings.


Gather up you flowers.
Cut out two squares of mactac a little larger than your butterfly.


Peel the backing off one of the squares of mactac and place the butterfly on top of the sticky side.
Now for the *FUN* part.

Fill the wings with flowers to make the butterflies come alive with color and beauty!


When your flower collage is complete, peel the backing off your other square of mactac and press it firmly on top of your butterfly to seal your flowers in. 
Cut off the excess edges around your butterfly.


There you have it. A flower-filled butterfly!

When it was done we couldn't resist placing in in a sunny window for a bit to admire.
Instant spring to make us smile.


Soon it was time to let this butterfly fly.
To turn it into a finger puppet, simply cut a small strip of paper and tape it onto the back to fit the finger of the "flyer".


Ready to take flight!

Butterfly
Flutter by,
Butterfly,


Floating flower
in the sky.


Kiss me with your
Petal wings—


Whisper secrets,
Tell of spring.
Author Unknown


Welcome spring sunshine and butterflies!


Shanti

Monday, March 3, 2014

Mandala Sun Catchers


I developed a love for mactac and pressed flowers when I was a girl. I have fond memories of being given a box of pressed flowers, some plain paper and mactac to create cards with. I think I still may even have a couple of those cards hidden away as keepsakes from my childhood. 
I thought it might be fun to do something similar with my girls. This past summer we collected and pressed flowers from our garden and in the wild. We thought it would be so nice to have these flower faces smiling at us in the window! It was such a treat to pull them out now and admire them in the midst of (this never ending!) winter. We really enjoyed playing with these flowers and creating pressed flower mandala sun catchers! 
They are simple to create.
Here is a quick how to...

To make you will need
mactac (also known as clear contact paper)
embroidery hoop
pressed flowers
suction cup for hanging

To begin...

Cut out two squares of mactac a little bigger than your frame.


Decide on your layout for your sun catcher.


Peel the backing off one of your mactac squares and secure (sticky side up) in your embroidery hoop.


Gently place your pattern of flowers onto the mactac .


When your design is complete, carefully remove it from the frame.


Peel the backing off your other square of mactac and press it on top of your design. 


 Place it back into the hoop.


 Cut off the edges around the hoop.


 Hang in your window to enjoy!!


Wishing you all...


abundant beauty in this day...


 and always!


Only 17 days until spring! The count down is on. Hopefully these flowers will tide us over until the fresh ones pop up their sweet faces!

In sunshine and flowers,

Shanti

ShareThis

LinkWithin

Related Posts with Thumbnails