Monday, July 19, 2010

Picnic At The Beach...Ideas and Inspiration!!!

For those lovely hot summer days many of us have been enjoying I wanted to share some of my favorite picnic basket ideas for those beautiful beach days!
First I would like to suggest sun tea ~ best  to make the day before and have it chilling in the fridge ready for your thermos. There are so many options for sun tea, from boxed tea, to flowers, to herbs from your garden. The one we made most recently was chocolate mint and rose petal tea ~ a delightful blend.


A pretty simple procedure ~ Collect your leaves and petals (and rinse well) or choose a couple bags from your favorite boxed tea and place into jar of cool water (with a hint of honey if you desire). Put the jar into the sweet sunshine and let the sun work it's magic!
More sun tea tips and inspiration ~ Here.


Another  staple that often finds its way into our beach cooler is the hearty and wholesome hummus ~ so many varieties but this is my personal favorite...roasted beet hummus. You can get the recipe here from a past post of mine.


 I also like to pack a healthy, power house filled snack my girls can grab and go with in their beach play. These chew chew energy bars seem to do the trick!


Finally a good grain salad always travels well and fills the belly with a light fullness. Here is my black bean quinoa salad recipe... a refreshingly flavored blend of protein and veggies.


Hope you enjoy these bountiful beach additions!
savoring summers sun kissed  sweetness
~Shanti ~

ps...Please check out our real life friend over at Rural Rainbow Ramblings she's got some lovely summer salad ideas, with links to recipes on her blog as well!

Saturday, July 17, 2010

Let's Get REAL!!!!

Sometimes when you are searching out this vast blogscape of ours, you never know what you'll land upon.  I was totally intrigued to find out about Shakti Mama and this idea of putting up a totally "raw" photo of yourself.  The idea is terrifying to most of us...alot of our blogs have crisp, beautiful pictures...carefully selected to show only our best features, our best moments.  However, I like the idea of conquering my fears...throwing myself into the things that scare me most...and really baring myself to the world, well that terrifies me.  I want so badly to be that woman who just loves herself, madly and completely.  The truth is, I fluctuate alot between love and loathing.  When I see a picture of myself, I usually feel dismay...there is no love in that first glance...usually I hit the erase button and hope that the day will come when I magically become photogenic...when I become someone other than me.  
So...this is my first tentative step...into embracing me for who I am...so here I am...first thing in the morning, (you can't get any more real than that)!


Who is this girl in the mirror.  Let me tell you...she's afraid at times, awkward, geeky, cautious, tired, sometimes jealous and competitive...you know, if I could I would reach out and give her a hug...raise her up and help her see herself through someone elses eyes!


She's also joyful, full of love, honest, hardworking, creative, unique, caring, a great mother, a devoted friend and partner...most of the time her life feels very full!!

Do you know that I have barely any photographs with just me in them, there are a few with me and the children, but even those are few and far between...all that will be left of me are the memories, (which is sad considering the digitial age that we live in)!


So...here's to the start of some radical self acceptance...to see ourselves as we really and truly are and to love ourselves for it.  And...

here's the challenge...let's see the real YOU!!!   Mamas let's unite in radical self acceptance...one blog, one photo at a time!   If it scares you, then do it anyways...and let's start a discussion on why it's so scary in the first place.  I urge you to look at that woman in the mirror, with her heart so full and ask yourself, "is she really so bad"?

with love to you all
xo maureen

ps.  If you really LOVE this idea Shakti Mama is going to do a more in depth challenge of self acceptance, with weekly challenges...I think she's definately worth checking out!   You can also leave your photo links below, should you decide to participate, or just leave some commentary on this subject...I'd love to know how other mammas truly find ways to accept themselves unconditionally!

Wednesday, July 14, 2010

It's Beach Week...Lets Create A Driftwood Vase!


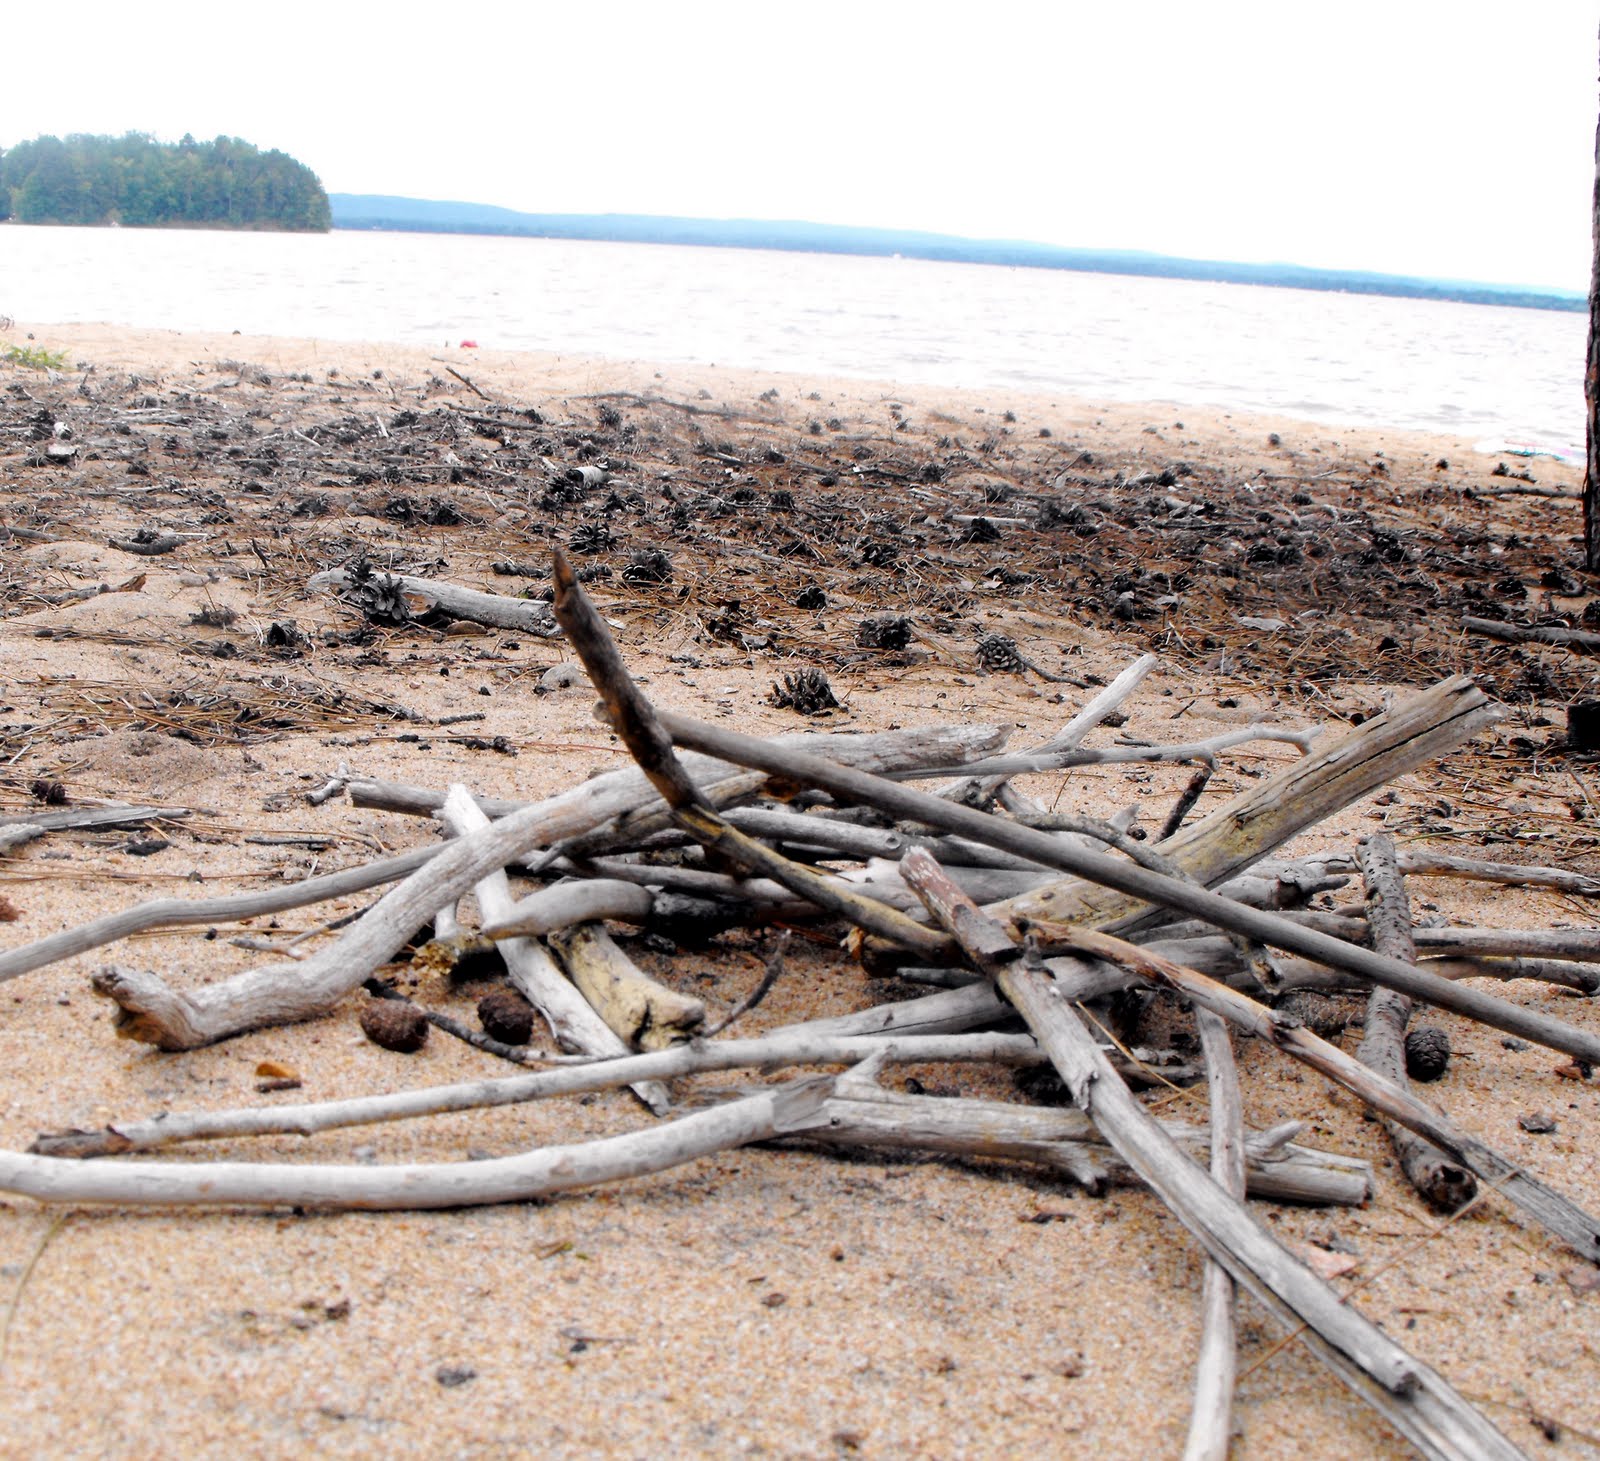
Beach days with my family had me inspired to collect the silvery soft drift wood twigs that are scattered along the shore line.   Once these beautiful pieces were home with me I just had to create with them...so out came the driftwood vase!


For this craft you will need 
driftwood twigs
a jar
2 elastics
raffia


First put your elastics around the jar, then add in the twigs one by one until the jar is surrounded ~ tie on some raffia over the elastics  and VOILA!  You can add a little flair on the front if you wish. We added a butterfly and some sand dollars...simple and beautiful!

Our new twig vase has found it's home at the center of our table ~ sure to be filled with  our garden's delights as they show their sweet faces...


 Drifting in driftwoods beauty
~Shanti ~


Tuesday, July 13, 2010

It's Beach Week!! Let's Make a Beach Mobile!!


Here's a quick little craft to help preserve the memory of the beach, and those lovely shells and bits of driftwood you've collected along the way!

You'll need:
some oven bake clay, (we used Sculpy in off white)
shells
fishing line
driftwood
beads, (if you wish)


Start by rolling out your clay...do it to the thickness you desire!


Using a small glass, or cookie cutter, cut out the shape you want!


Then take your shells and press them into the clay...press them in firmly, so they leave a nice imprint!
Get a chopstick, and make a little hole at the top of your shape, (for hanging).


Put them on a baking sheet and bake as per the instructions on the clay.
(for Sculpy it's 15 minutes at 250 degrees)


After they've cooled down, gather your driftwood, beads and fishing twine.
Drill a small hole into the centre of each piece of driftwood.


String on your beautiful imprinted piece of clay...add beads, (if you wish), and tie it to your driftwood.


Now hang it up and enjoy your unique ode to the beach!!


I've seen these imprints done alot with leaves, but not so much with shells.  I think these would also make lovely pendants for a unique necklace.  It's also a good launching pad for talking about shells and fossils!
Sweet and simple...the perfect little craft!!

Enjoy!
xo maureen

It's Beach Week...Lets Make Shell Fairies and Other Magical Creatures!!!

What fun it was to create this oceanic fairy world! 
One night after getting home from a busy night at work ~ I sat down with a oodles of shells, a glass of wine, a fabulous sister on the line and proceeded to create the shell fairy family...a very  therapeutic way to unwind.


For this creation supplies were simple...

seaside treasures collected over the years
a selection of shells (from any dollar store)
small wooden rounds (ditto)
a glue gun
cardboard box
wax paper 
sand
moss (reminded me a lot of coral)
and what ever else feeds your underwater, fairy imagination!

After the shell family was created I decided they needed a home. Soooo...I cut the main body off a box and lined it with wax paper.


I filled it with river sand and rocks from my Mother's beach, snails and shells.

Then ocean fairy king and queen could move on in!

 along with their water world children...


 ~ a world full of magic ~


~ mushrooms and mythical creatures ~


~ mini mice ~


and soaring delights!

The real beauty in this craft is in the versatile way you can let your imagination run wild! Shortly after l gifted this ~ mama created ~ fairy realm to my girls, my daughter proudly came to show me her shell inspired turtle, baby shell fairy and shared enthusiastically about her vision for her shell lion tomorrow ~ perhaps I shall add on updated photos of the creatures as they come to life!

Spiraling in the watery world of enchantment
~Shanti~

Sunday, July 11, 2010

It's Beach Week!! Let's Make a Magical Mermaid Wand!!!


So here's a super simple beach craft to make this summer!

Firstly, gather up your supplies...you'll need:
thin pieces of drift wood
shells...a good assortment
beach glass
beads
ribbon or twine
wire, (I like plastic coated myself, super easy to work with)
a glue gun and glue sticks
scissors
whatever else you fancy!


Keep in mind that you can modify the list of supplies...the essential part is the driftwood stick and shells...other than that...it's really up to you...use whatever you have on hand!


We began by using our glue gun and gluing the shell we chose onto the top of our piece of driftwood!

Then wrap your ribbon around near the top of the stick.  On mind I left the bottom half of the stick bare, so you could see the driftwood...


Ruby did hers a bit different!  The end result will be splendid no matter what you do! 


Then we used the wire and wrapped bits of beach glass, shells and threaded on beads...


Here's a close up of my wand...I also used some twine to hang the beach glass and shell off of the wand!
I think the fun thing with this craft is that there are just no rules...put out your supplies, and let your imagination lead you! 


"O Golden mermaid appear to me
Spirit of foam, rise from the sea.
The hour of the full moon tide draws near,
Hear the words, draw near and appear!"
-Niabi Ruiz


We spent our evening watching the sun set at our favourite swimming spot, just Ruby and I.  Ruby brought the wands and shook them over the water...it was magical to watch her so caught up in her imaginings!

What a super craft this would be while you're on vacation near the water, or for a mermaid themed birthday party! I think our wands are going to hang out on our nature table for some of the summer...as a reminder of the creative and special summer night we had together!

In mermaid magic
Maureen xo

Friday, July 9, 2010

The BEST damn raw energy balls ever!!!!


Here's a quick, easy, delicious and nutritious recipe!!!    Perfect for those summer days when you just want a quick "something" to get you through the day!!

You'll need:
1/4 cup sesame seeds
1/4 cup sunflower seeds
1/2 cup raisins
1/2 cup dates or dried apricots
1/2 cup peanut, almond butter or tahini

Put all of your ingredients together in the food processor...


Process until it's all ground together...


Then roll into balls


Alternately, you can also press it into an 8-inch square baking dish, and stick them in your fridge, cutting them into "bars" and eating!  Balls or bars, store them in the fridge!


Matilda pretty much devoured most of our treats!!!

Oh...and as a bonus, here's one of my other favourite raw ball recipes!!  If you like halvah, this one tastes just like it!!!

1 cup tahini
1/2 cup raisins
1/2 cup dates
1 tsp vanilla extract

-process all the ingredients together...roll into balls...refrigerate!!! 
These are my personal favourites!!! 

Happy eating!!!
xox maureen


Wednesday, July 7, 2010

Delightful Dragonflys...A Twig Craft!


In honor of our  magical  friend, the dragonfly, we created these simple, sweet little crafts.

Here's what you will need 
~ twigs
~ beads for the eyes
~ maple keys
~ glue gun 
~ glitter (if that appeals to you) I highly recommend Martha Stewart's gem stone glitter ~ it is the queen of glitter, with superb sparkle!


First we collect twigs that caught our eye and held that "dragonfly quality" ; )  We had maple keys stored from the fall so we pulled them out and began...
So simple ~ kids choose their sticks, maple keys, glitter and bead (eye) colors ~ I then  glue gunned on the wings and beads...
  

The girls took the  glue and either edged the wings, gooped it on or painted  it on...then shook on that sparkle!


What started out as a quick craft soon became a world of  creating entire families of dragonflies ~ complete with names and personalities.  I love how children throw themselves completely into creation and imagination. 


These rainbow dragonflies were ready to take flight in the garden...


This project was done in the earlier part of a VERY hot day. We then headed to the beach for a cool off... this fine glitter sparking unexpectedly off our skin the rest of our beach long day! 


 Thinking we may make a mobile out of these magical creatures or perhaps save them for my envisioned  christmas tree this year ~ a tree sparkling with and abundant, natural, handmade decorations.

I must dedicate this post to my sister Emily who loves dragonflies and adopted her own one afternoon when we were young, naming it "sporfy".  The adoration must run in the family. I love watching them at our favorite beach, as they elegantly swoop and glide, filling our space with magic.  Luna recently had one land on her finger and in quiet excitement, she sat in awe for over twenty minutes watching this delicate creature perched on her.
Such delicate grace...
In the sparkle our our majestic friend 
~ Shanti ~

ShareThis

LinkWithin

Related Posts with Thumbnails