Showing posts with label rainbows. Show all posts

Tuesday, March 11, 2014

Rainbow Wands for St Patricks Day!


Head on over to the CBC Parents site to get the instructions on how to make
a Rainbow Wand for St Patricks Day!


Monday, March 10, 2014

Rainbow Sunbursts


This week we're featuring some
RAINBOW
crafts we've been working on!

We're still up to our hips in snow, but hope is in the air!!

Today we whipped up some colourful rainbow sunbursts…they serve no official purpose, but they do bring in some much needed colour into my home, and they were fun to make…art for the sake of art!

To make your own you will need:
food colouring
toothpicks
cardboard
paint & paintbrush
glue


To start mix up your food colouring…all the colours of the rainbow.


Then put in your toothpicks…soak them for about an hour.
After they are done drain them on paper towel…they will be dry in about another hour or so.


Aren't they pretty??!!


Next enlist the help of a pint sized friend…cut out circles of cardboard…
paint them whatever colour you wish…front and back and sides.


Next, when your paint is dry, cover the surface with white glue…just plain craft glue works fine.


Then start laying down your rainbow pattern with the toothpicks…


Eventually they will look like this.


Then take a piece of string and needle and poke a hole through the top for hanging!
Enjoy the "BURST" of rainbow goodness!  

Wishing you all colour, JOY and a "spring" in your step!

Maureen

Monday, January 6, 2014

Rainbow STAR Transparencies!

Today was a snow day for us here in Ontario, so in order to chase the winter doldrums away, 
(and procrastinate snow shovelling), 
we decided to bring some beautiful colour into our day.
Enter the Rainbow Star Transparency!!


To make your own you will need:
cardstock, (for the frame)
tissue paper in white and rainbow colours
gluestick
scissors
star template…
I used the one from Don't Eat the Paste…it has stars in various sizes which I like!

To start, cut out the centre of your "frame" like so:
(you will want both pieces of card stock cut out the same)

Then take your white tissue paper and glue it to the underside of your frame…
try to get it "wrinkle free"

Then using your star template, cut out stars in various sizes…
I did 6 of each colour, each in a different size.

Then start gluing them on in order…I started with red…
(then orange, yellow, green, blue and violet)
Use a gluestick for this part and be very gentle!

Here you can see them layer by layer…overlap them…don't be shy!

Then take your other piece of card stock…you will glue tissue paper to the underside of it as well…
sandwich it on top of your stars and glue the sides together.
(this is a good time to trim the sides if they are don't match)!

Then hang it up in a sunny window and revel in the colour…the simple beauty…*sigh*

And then…back to reality…time to get shovelling!

Happy Crafting!!


Maureen

Monday, July 26, 2010

It's Flower Power Week!!! Let's Make a Recycled Rainbow Flower Wreath!

" The Earth laughs in flowers."
-Ralph Waldo Emerson

Here's a super fun, super colourful craft to make with the kids!  A recycled rainbow flower wreath!


If you're like me you save all your toilet paper rolls...just in case!  You never know when the urge to craft with a toilet paper roll will take over!  Well, you're in luck...here's a fun and wonderful toilet paper roll craft!  So gather up those rolls!  You'll need 11 of them to make this wreath.


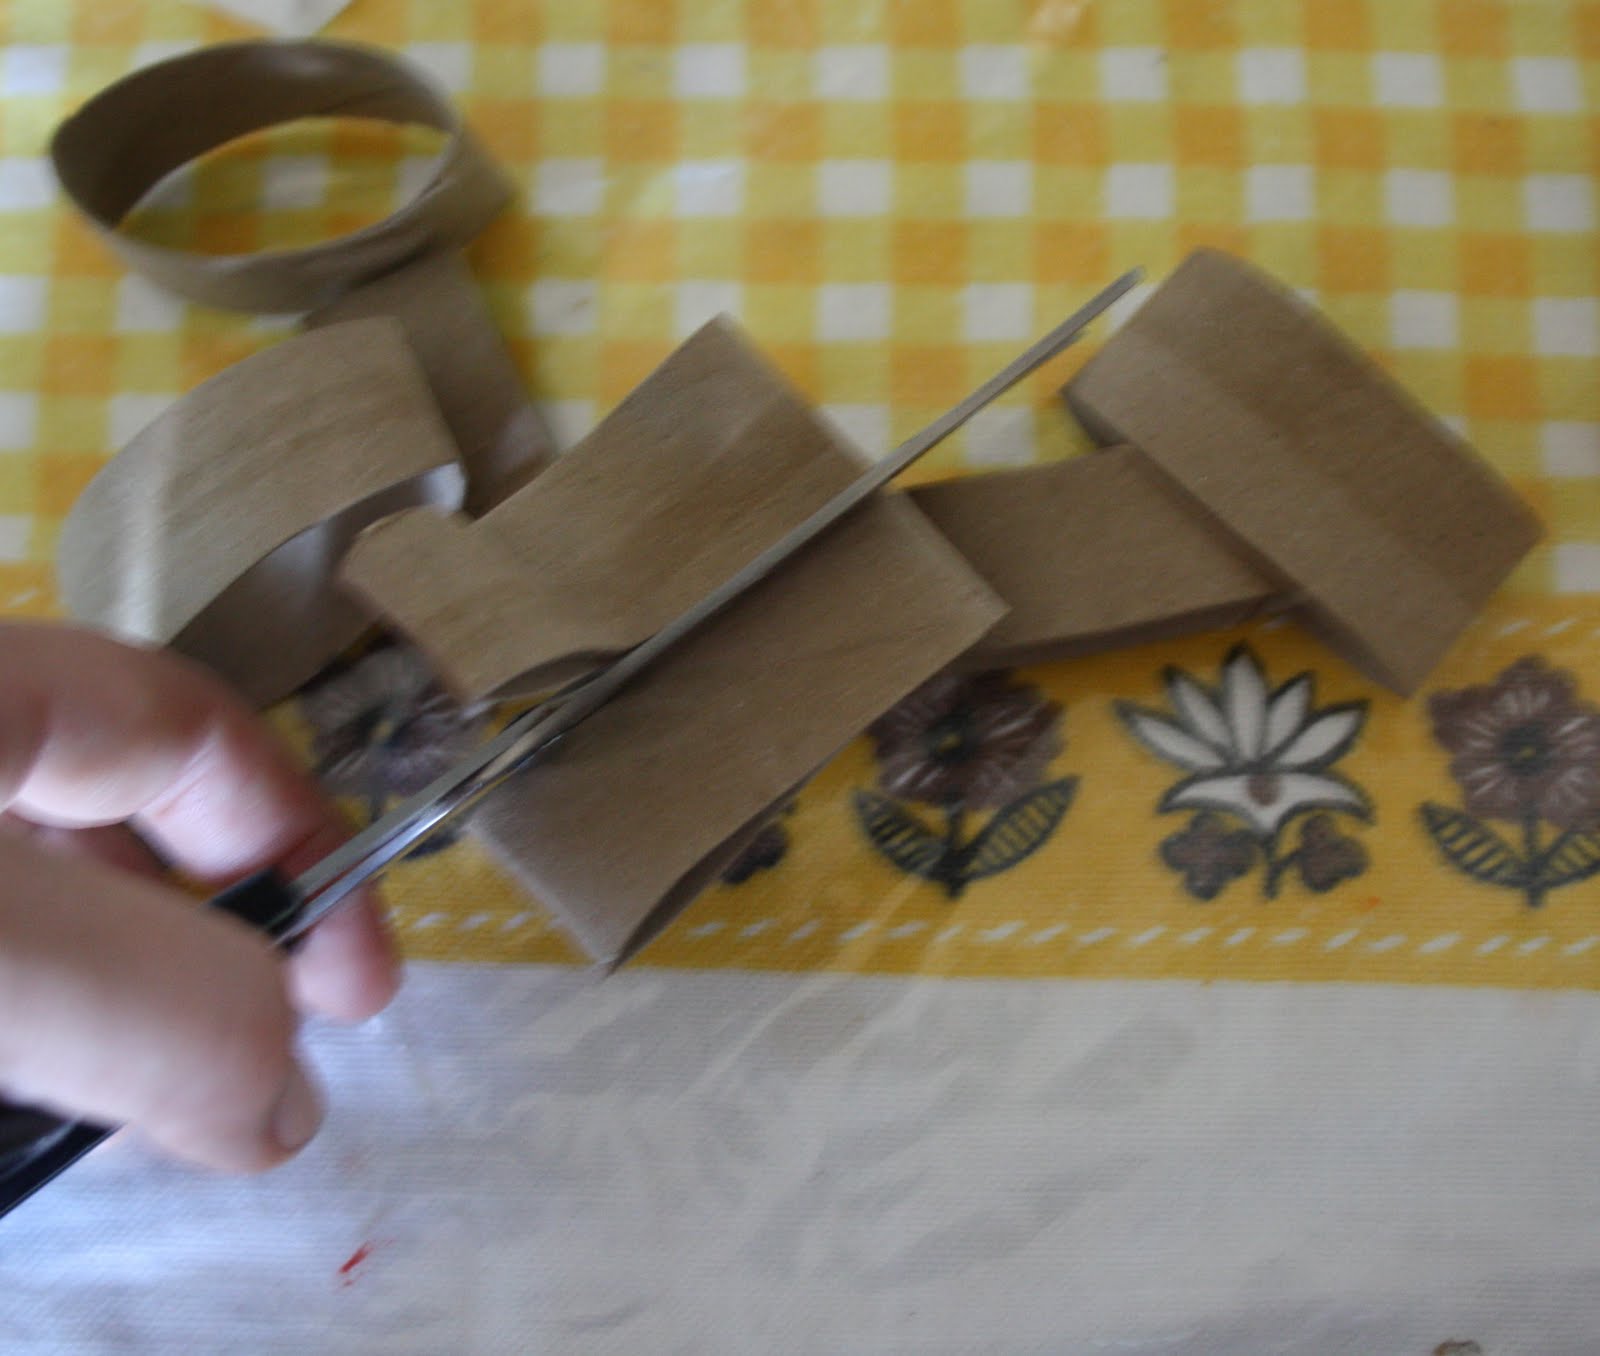
Cut each roll into 4 equal sized pieces...try to estimate the size, don't make it complicated!


Now put it together like so.  To make the "petals" fold one end together tightly and then using your fingers, round out the tops of the petals.  Get your glue gun warmed up while you do this!


Put a thin line of glue on the folded edge of your petal.  Take that petal and glue it to the middle round!
(I used 6 petals per round...you can use more if you desire). 


Now grab a kid you love, get out the rainbow paints, and put them to work!  Paint every bit of your flower...on the inside and outside!


Before you glue it together, set it on the floor, to get it into the right shape.  Then glue it as required, (again a glue gun is your best bet to hold it together).


Then find a lovely spot to show off your beautiful and colourful creation!  We hung ours on a nail, but you could also add some ribbon to hang it with.

Oh...I love me a simple craft,
(and rainbow colours make it all the sweeter!)

xo maureen

PS.  Please go and enter our fabulous giveaway!  If you're a follower of Twig and Toadstool you can enter daily, and if you're just by for a quick visit, then you can enter once!  Enter by leaving a comment HERE!
You can enter until this Thursday at midnight.  The winner will be announced on Friday!
Good luck to all who enter!
(our fire gnome is looking forward to knowing where his new home will be)!

Thursday, June 3, 2010

It's Party Week...Ruby Maude turns 7 today...come see a bit of our Rainbow Party!!!


This is the mantra of mothers everywhere, "I can't believe my child is (insert age here) already!!!".  And it's true...I simply can't believe that I am now the mother of a seven year old.  When Ruby woke up this morning she says, "Oh...I'm SO glad to be seven...I was getting SO tired of being six!!!"    What a delight this girl is to us...creative and sassy and bright...oh my sweet little miss, (don't let her know I used the word "little"...when you are seven it is considered a great offense!!).  This is also the celebration of my own "birth" day...it took days to birth this girl...eventually ending in a c-section...when I think back on that time, I am so proud of myself and my birth team for keeping a sense of humour, energy, love and light around the birth of this girl!!

So...today in honor of our dear Ruby, gem of a daughter, we had a Rainbow Party.  I wanted to share with you some of the simple things we did, (I'm talking low stress here mammas), to make this party happen.
I found some great FREE printables here  we printed out some of the flags, and the cupcake toppers...so simple, and yet they are just so darn sweet!!


one of our Rainbow banners that we printed off!!!

For party favours we went for a walk in the woods and cut some branches, (we decided to use fresh branches, so they wouldn't be so brittle), cut them into 2 foot lengths...after that I took 3 ft lengths of ribbon, (in rainbow colours), and tied them on, (in a double knot)...that's it...beautiful rainbow wands for all the kids to take home.


This is something you should do just for the fun of it...Rainbow party or not!  The kids LOVE waving around these fancy wands...and to think, to make 28 of them it cost me roughly $5.00!!!

Tomorrow, I'll share with you some of the pictures of our wonderful party, and another birthday tradition we do here at the Toadstool!  Now, we're off to hang out on the bed and watch a movie together...we got the new Alice in Wonderland...should be a fun wander down the ol rabbit hole!!

Happy Birthday Ruby Maude...we love you!!
xoxoxoxox
maureen


ShareThis

LinkWithin

Related Posts with Thumbnails